From the forest to your laser cutter
How birch plywood is made: from tree to laser-ready sheet.
Every sheet of birch plywood has a story that starts long before it reaches your workshop. Here's how a standing birch tree becomes a flat, stable, consistent sheet of laser ply that cuts beautifully.
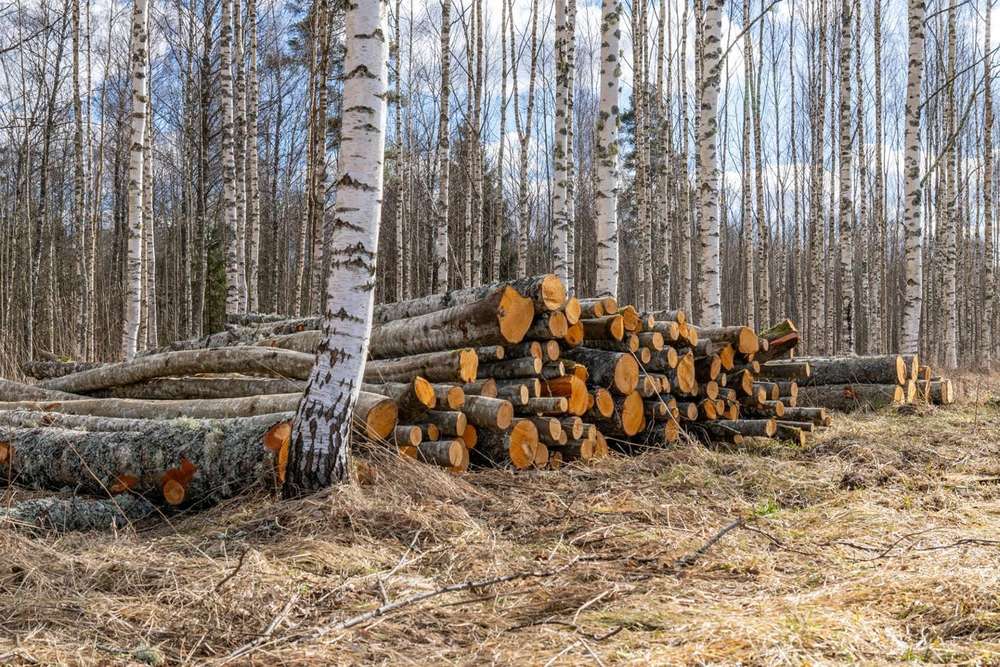
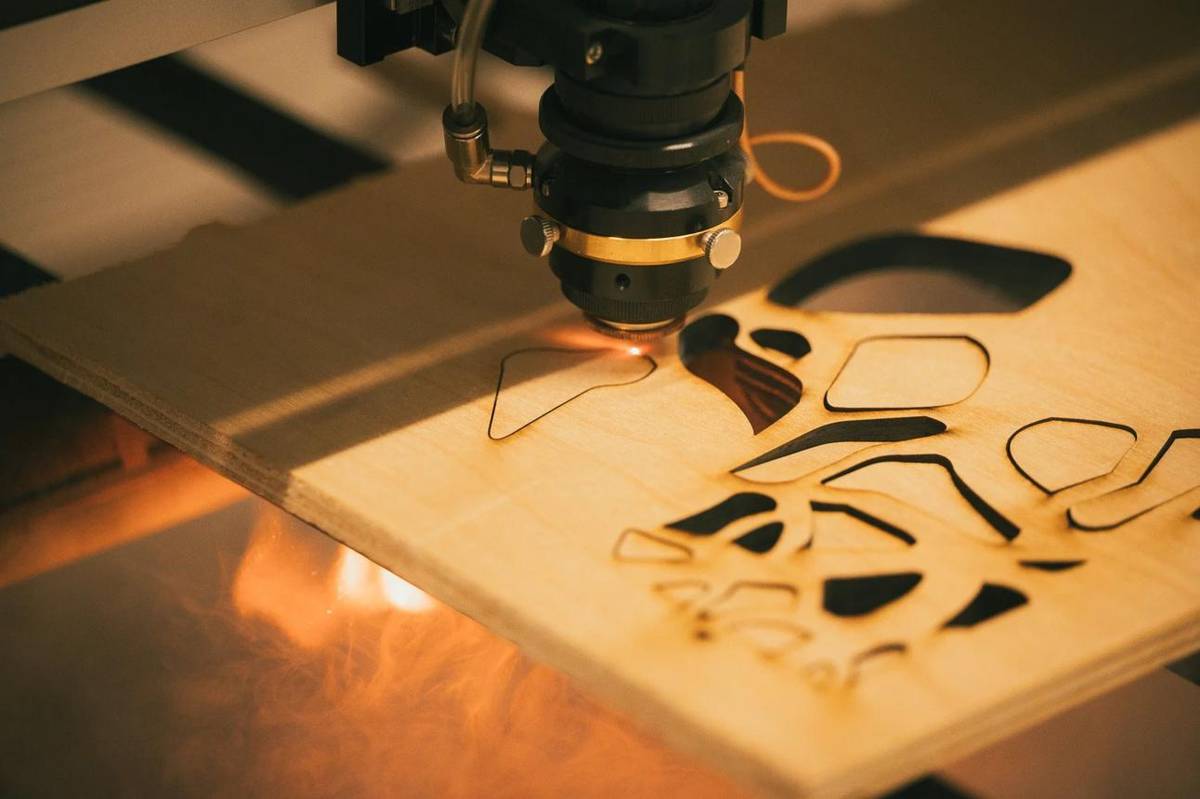
Forestry, traditional woodworking knowledge and tightly controlled manufacturing, combined into one strong, stable sheet.
Our birch plywood begins with carefully selected birch timber from responsibly managed forests. The journey from tree to sheet takes eight stages, and every one of them affects how the finished plywood behaves when you use it for laser cutting.
The process
How plywood is made: eight stages from log to sheet.
-
Stage 01
Responsible forest management
It starts in managed birch forests, where mature trees are selected for harvesting and replaced through natural regeneration or replanting, so the woodland keeps going for future generations.
Straight, healthy trees of the right size give the consistent veneer that good plywood needs. Where applicable, timber can be supplied with recognised chain-of-custody certification such as FSC® or PEFC®.
-
Stage 02
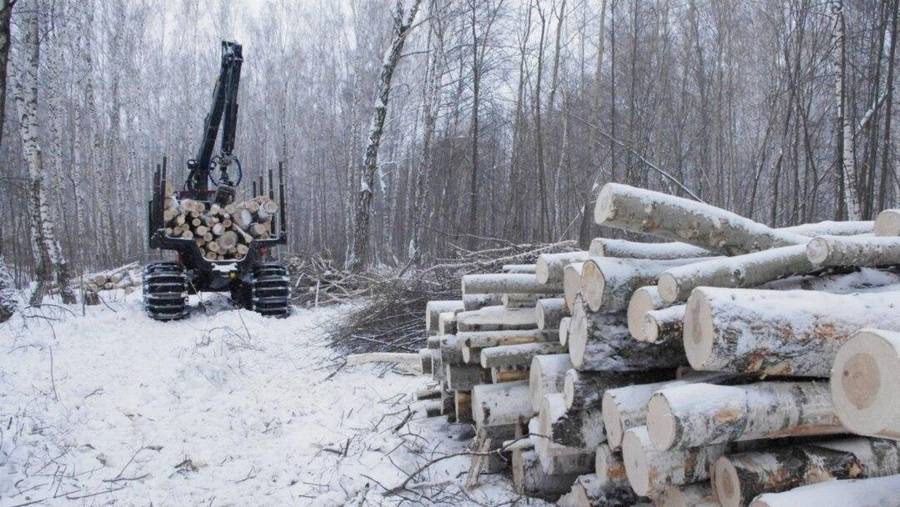
Felling and logging
Trained forestry operators fell the selected trees, remove the branches and cut the trunks into manageable lengths, known as logs or bolts, ready for the journey to the mill.
At this point it's still a solid piece of timber. The mill's skill is turning it into hundreds of thin layers while using as much of the tree as possible.
-
Stage 03
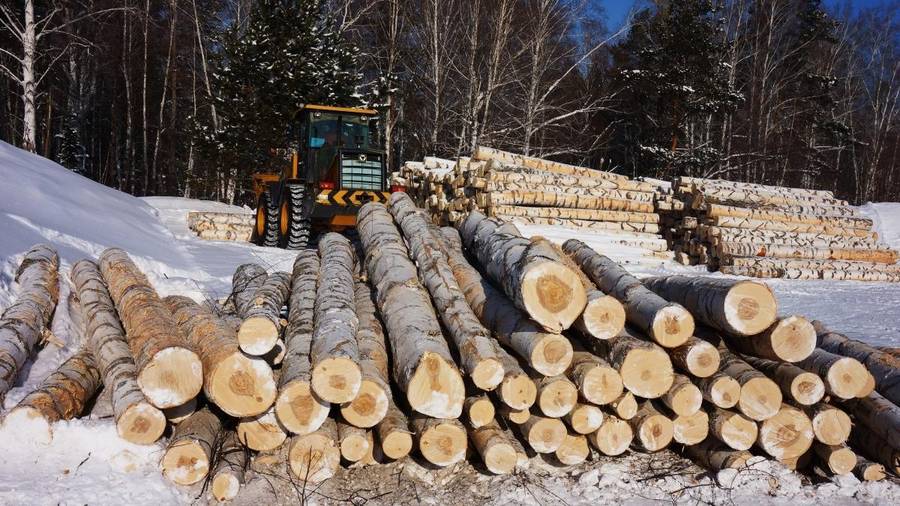
Preparing the logs
At the mill the logs are inspected, debarked to remove dirt and grit that would damage the peeling knife, and cut to length for the lathe.
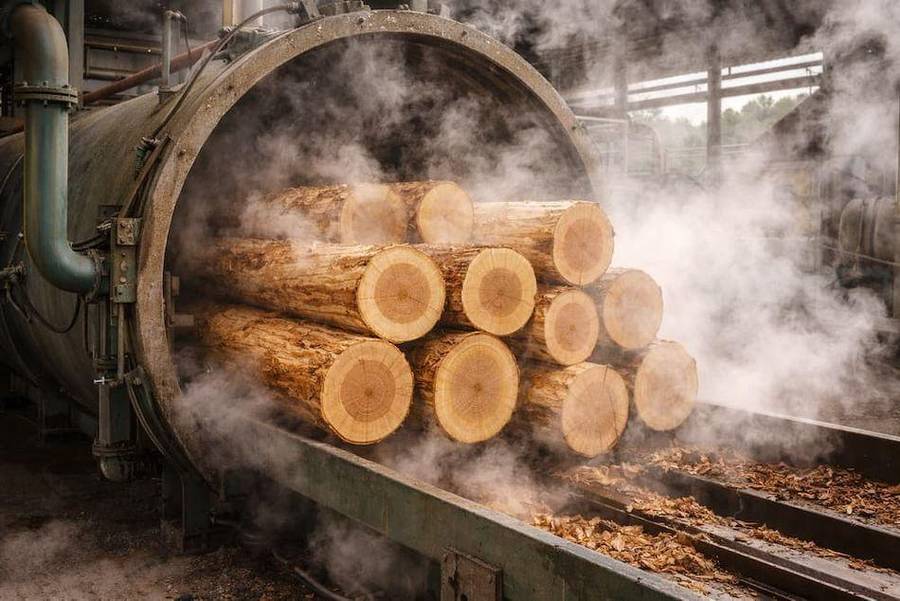
They're then conditioned with hot water or steam. This softens the wood so the veneer peels away smoothly, with less splitting and tearing.
-
Stage 04
Rotary peeling: log into veneer
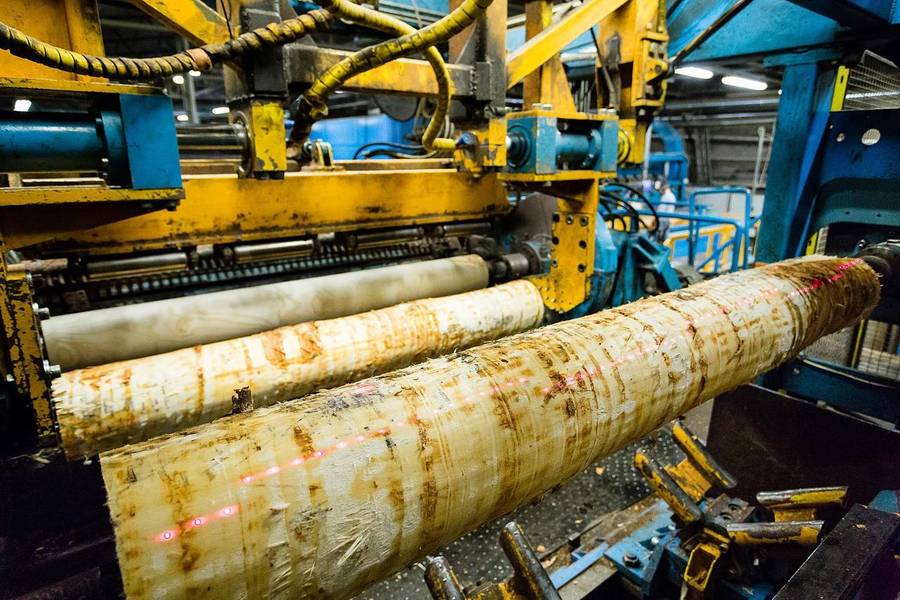
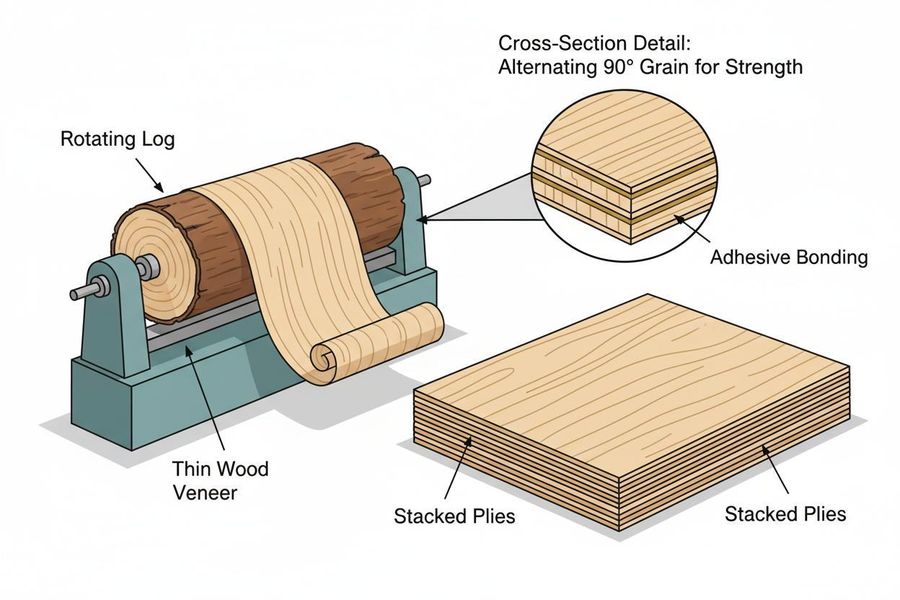
The log is mounted in a rotary lathe and turned against a long, extremely sharp knife. A bit like sharpening a pencil, it peels the log into one continuous sheet of thin birch veneer.
Veneer thickness is controlled precisely to suit the plywood being made. Instead of cutting a few solid boards, one log becomes a large quantity of thin, usable layers.
-
Stage 05
Drying and grading
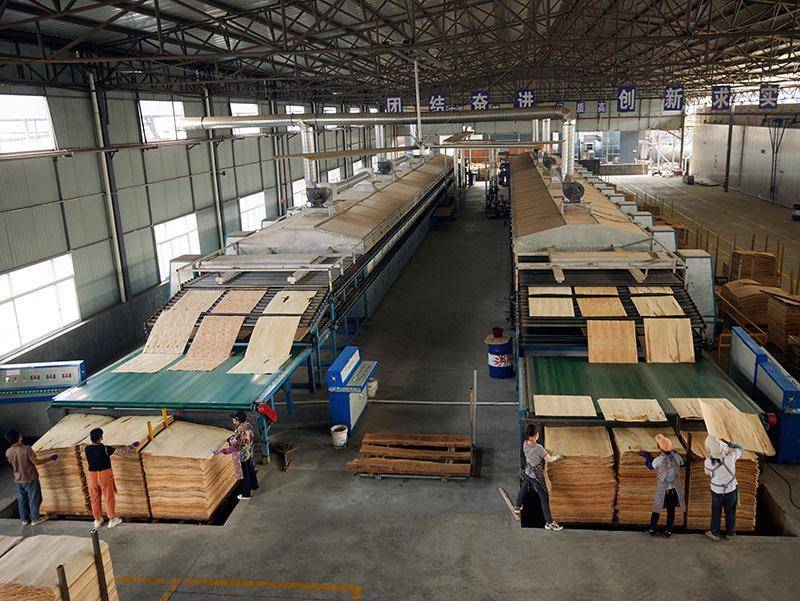
Fresh veneer is wet, so it's dried to a controlled moisture content. Moisture affects how well the layers bond and how the finished sheet behaves.
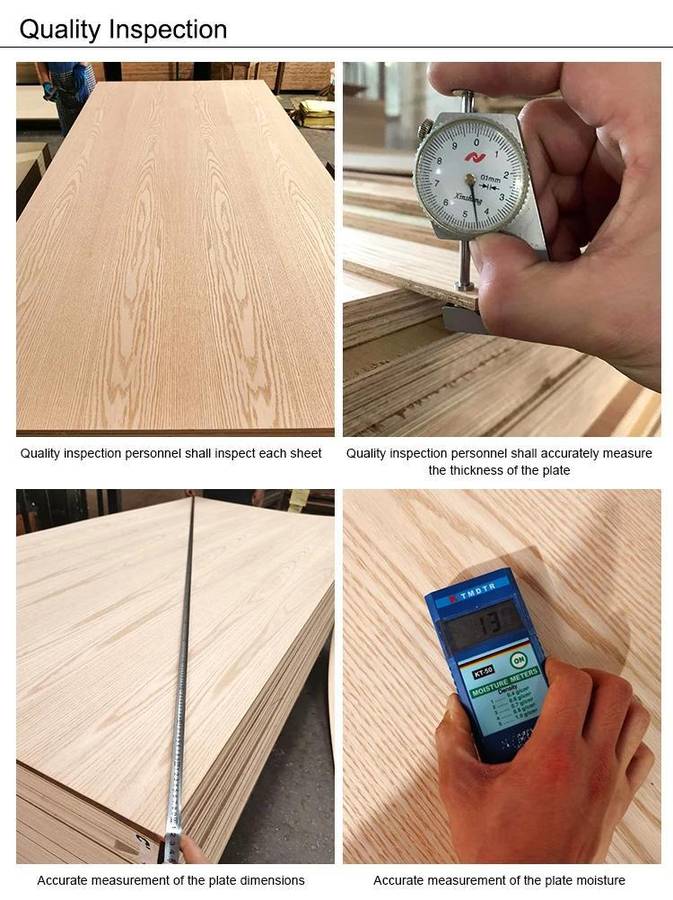
Each sheet is then inspected and graded. Knots, splits and holes are identified; the best veneer goes on the faces, the rest into the core, and defects are repaired or removed. Modern mills use scanning systems to help, and for laser plywood this grading is especially important.
7–12% typical moisture content leaving the mill
-
Stage 06
Building the plywood
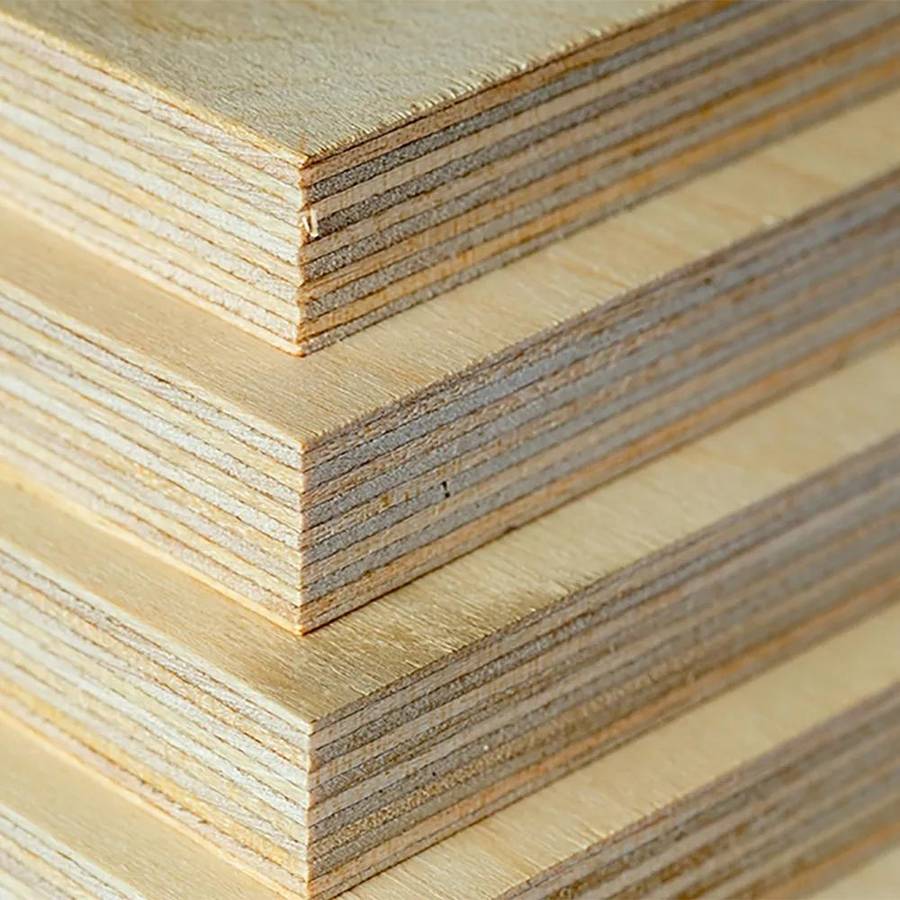
The veneers are coated in adhesive and stacked, with each layer's grain running across the one next to it. This cross-laminated construction is what gives birch plywood its strength and stability.
Depending on thickness, a panel may have three, five, seven, nine or more layers. Some Laserply products are all-birch throughout; others are specialist lightweight builds with birch faces and a lighter core.
-
Stage 07
Pressing under heat and pressure
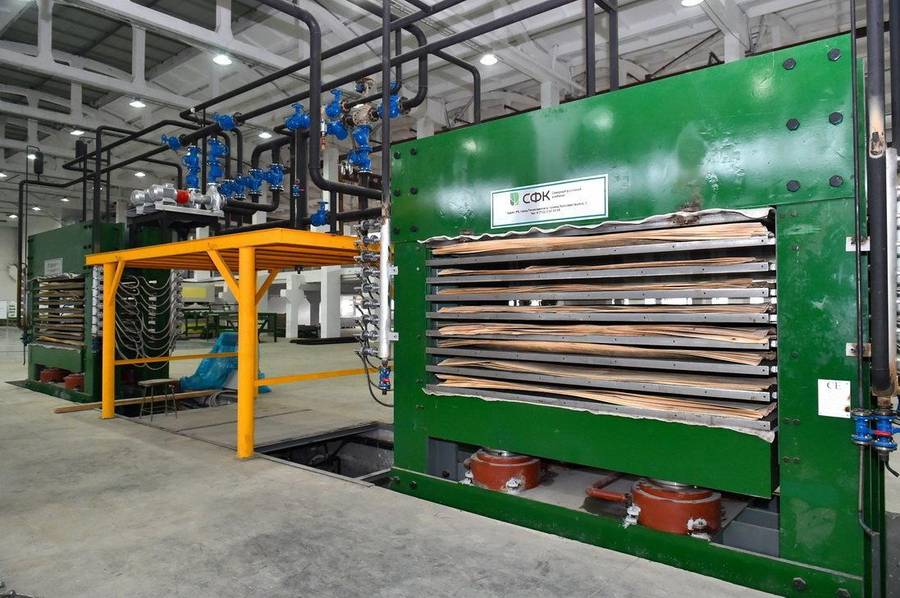
The stack goes into a press. Pressure brings the layers tightly together while heat cures the adhesive, bonding them permanently into one rigid, engineered panel.
Careful control of temperature, pressure, glue and pressing time is what makes a sheet flat, stable and reliable.
-
Stage 08
Trimming, sanding and finishing
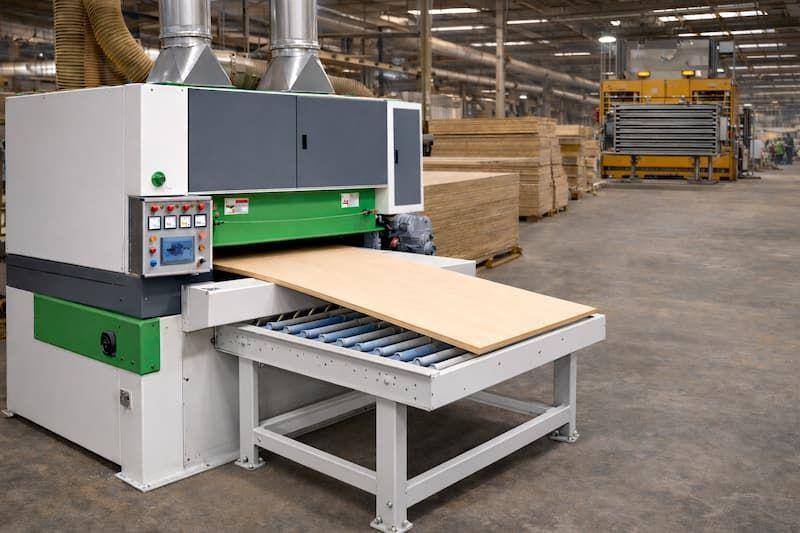
The oversized panels are trimmed to size and sanded to a smooth, consistent finish and their specified thickness, then inspected again.
It may look like a simple sheet of wood, but there's a lot of engineering behind it.
At a glance
The whole journey, end to end
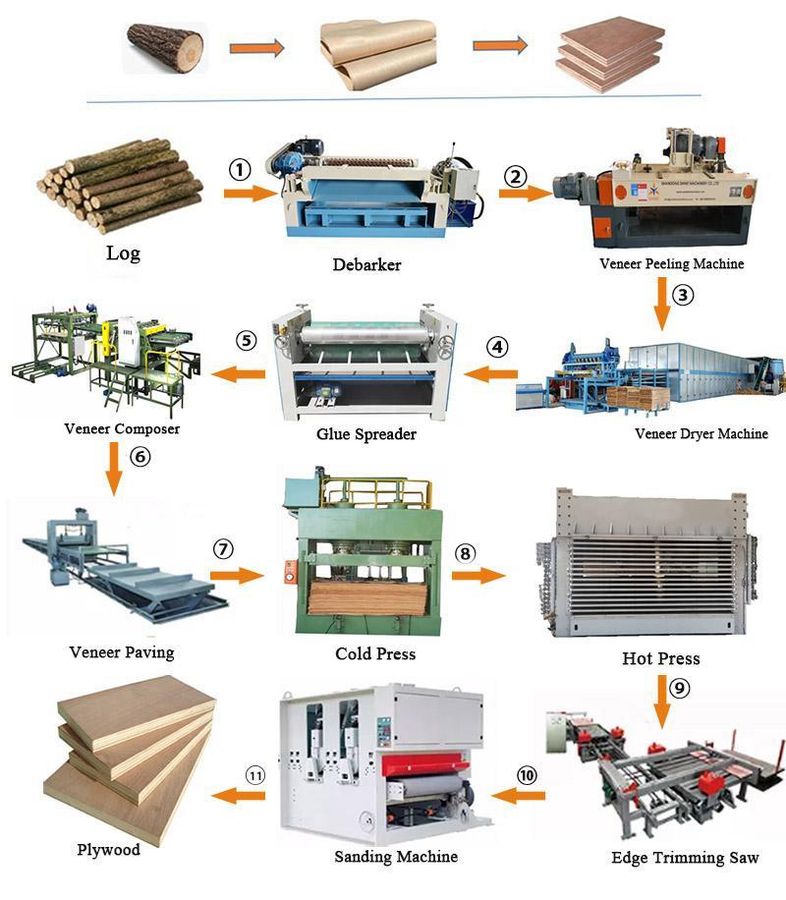
Log, debarker, peeling, drying, gluing, laying up, cold and hot pressing, edge trimming and sanding. What started as a living birch tree is now a carefully engineered sheet, and every stage shapes how it will perform on your laser.
From plywood to laser plywood
What makes plywood laser plywood?
A sheet that's perfectly good for furniture can be frustrating to laser cut. Plywood for laser cutting needs consistent thickness, properly bonded veneers and the right adhesive. Our birch plywood is made and selected with machining and laser processing in mind, with graded internal sheets to minimise plugs and knots.
The glue matters
Adhesives behave differently under the intense heat of a laser. Laserply's interior-grade birch uses EN 314-2 Class 1 glue, suited to dry interior use and generally preferred for laser cutting. Exterior-grade glues can leave a more caramelised, burnt-looking edge.
Every finished sheet is checked for
- Consistent thickness
- Flatness
- Surface and veneer quality
- Core construction
- Bond integrity
- Dimensional accuracy
- Suitable moisture content
- Minimal hidden defects
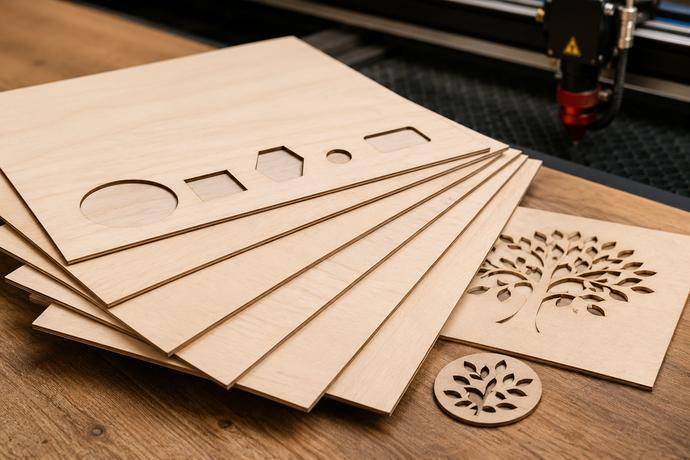
We don't choose plywood because it looks good. We test it by cutting it.
Works with your machine
Which lasers is birch ply suitable for?
Laser-grade birch plywood works on almost every laser cutter and engraver. What changes from machine to machine is how thick a sheet it can cut cleanly, and how many passes it needs.
Diode lasers
Popular for home workshops and great for engraving. Most cut thin birch ply, around 3mm and under, in one or more passes depending on power. Thin, consistent sheets with interior-grade glue give the cleanest results.
- xTool
- Creality Falcon
- Atomstack
- Sculpfun
- Ortur
- LaserPecker
Desktop CO₂ lasers
Cut birch ply faster and handle thicker sheets, usually in a single pass with a cleaner edge. A good fit for small businesses, makers and makerspaces.
- Glowforge
- xTool P2
- OMTech
- Monport
- FLUX Beamo
- Thunder Laser
- K40
Schools and production
Larger-format machines in schools, colleges and workshops, where consistent sheets matter for batch work and student projects.
- Trotec
- Epilog
- HPC Laser
- Universal Laser Systems
- Boss Laser
Common software includes LightBurn, LaserWorks (Thunder Laser's version of LightBurn), xTool Creative Space, Beam Studio and TechSoft 2D Design, which is widely used in UK schools. Settings vary between machines and sheets, so always run a test cut on an offcut first.
Why Laserply is different
Why choose Laserply birch plywood?
Laserply grew out of a laser-cutting business. We've been cutting materials ourselves for almost two decades, so we know the problems laser users run into: uneven thickness, scorching, knots, plugs, glue, and sheets that won't stay flat. Our range is chosen by people who cut it every day.
You're not just buying a sheet of plywood. You're buying material selected by people who use it on laser machines.
FAQs
Laser plywood FAQs.
Common questions from laser users about birch plywood, grades, glue and flatness.
Is birch plywood suitable for laser cutting?
Why does laser plywood sometimes have a burnt edge?
Is all birch plywood made entirely from birch?
Why isn't my plywood perfectly flat?
Why does the actual thickness differ from the advertised thickness?
What do B/BB, BR/BR and the other plywood grades mean?
| A/A | Perfect veneers, no knots |
|---|---|
| BR/BR | No large knots or plugs; pinhole knots permitted |
| B/B | No knots, but plugs and filler may be present |
| BB/BB | Knots, plugs and filler permitted |
Can birch plywood be painted or stained?
Can I use exterior plywood in a laser cutter?
Is Laserply plywood sustainably sourced?
Why buy laser plywood rather than ordinary plywood?

Ready to find the right plywood for your laser?
From fine 0.4mm aircraft-grade birch to standard 3mm, lightweight LaserLite and thicker plywood, we have materials for a wide range of laser-cutting work.